Access to the online electronic patient registration application
Press the “PATIENT REGISTRATION” button.

Registration in the online patient registration application
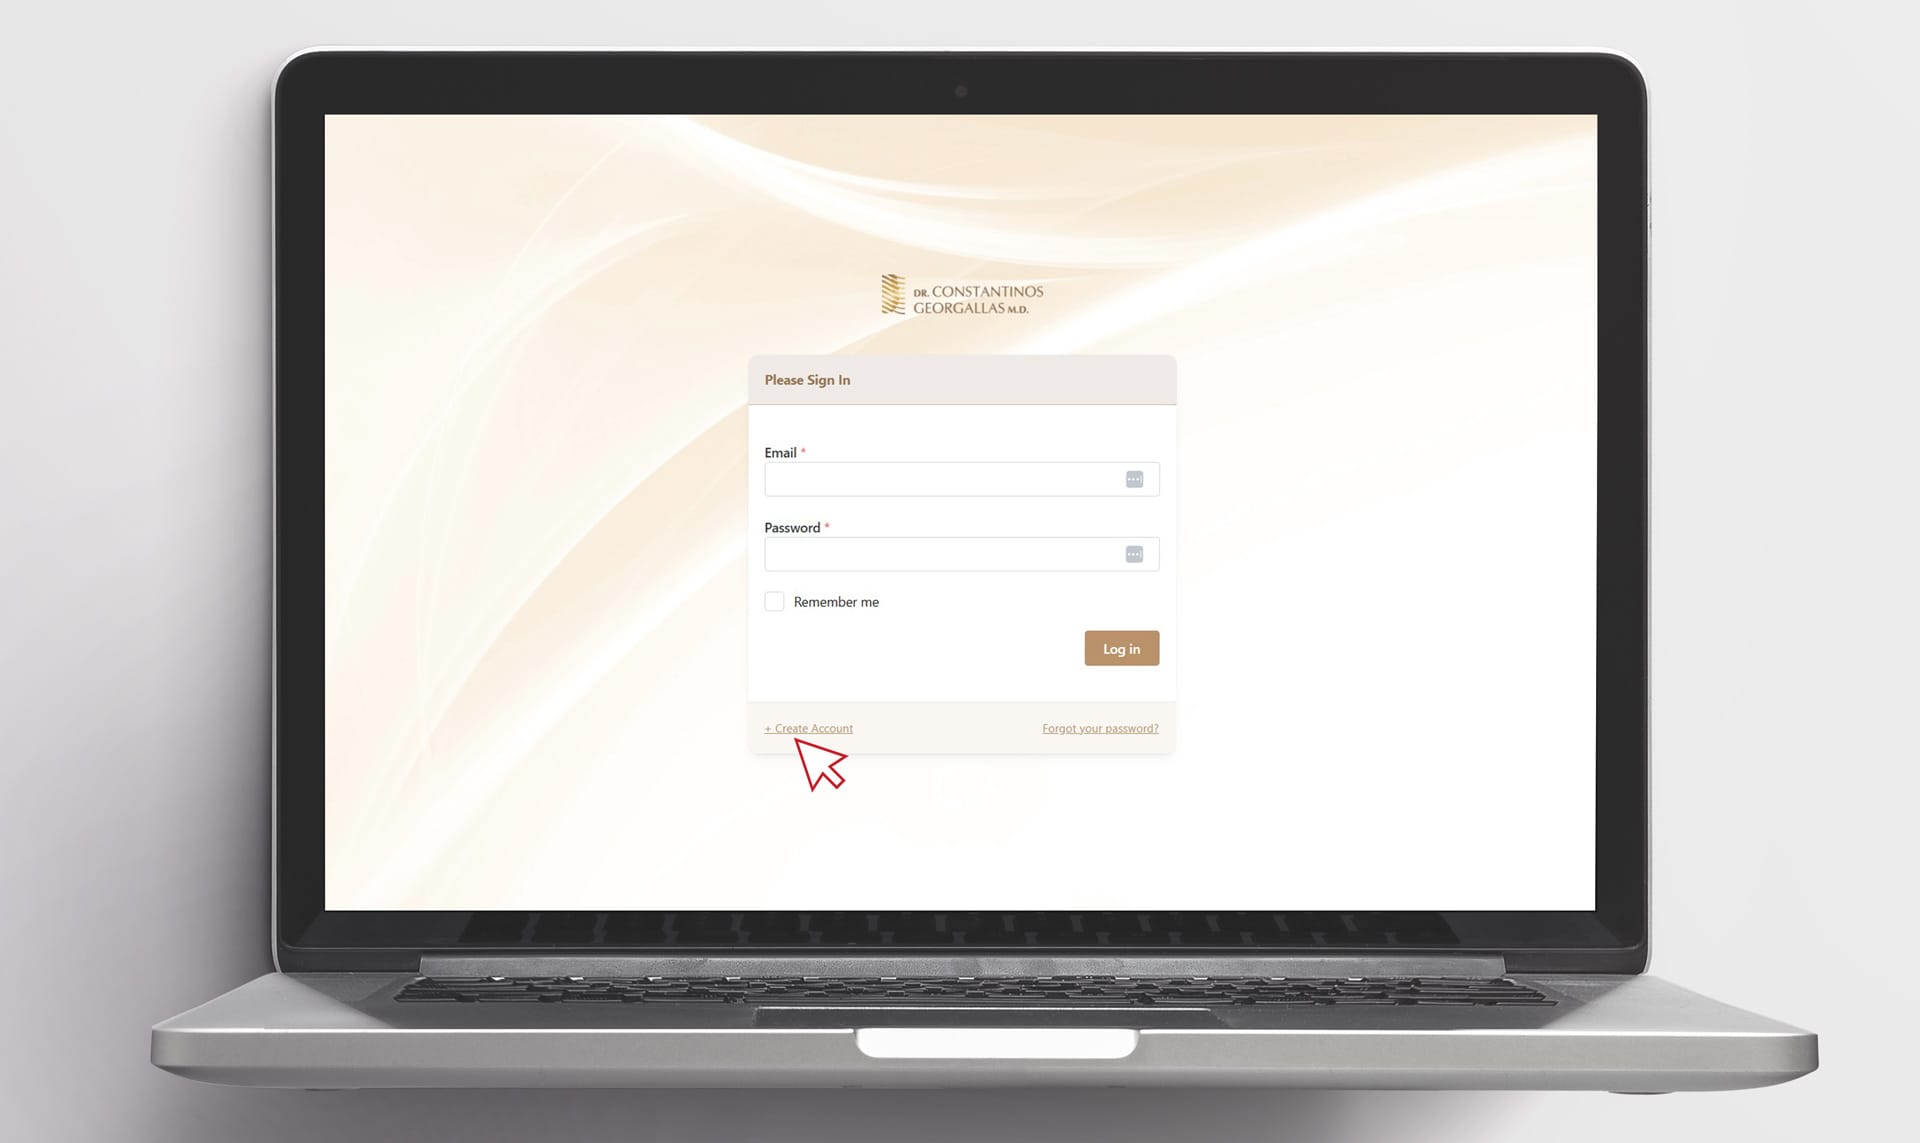
Click the “+ Create Account” link to create your account. If you are already a registered user, you can enter the system by pressing the “Log in” button as long as you enter your Email and Password.
Enter user registration details
Enter your name, email and password. Then press the “Register” button.

Filling out the patient registration form and questionnaire
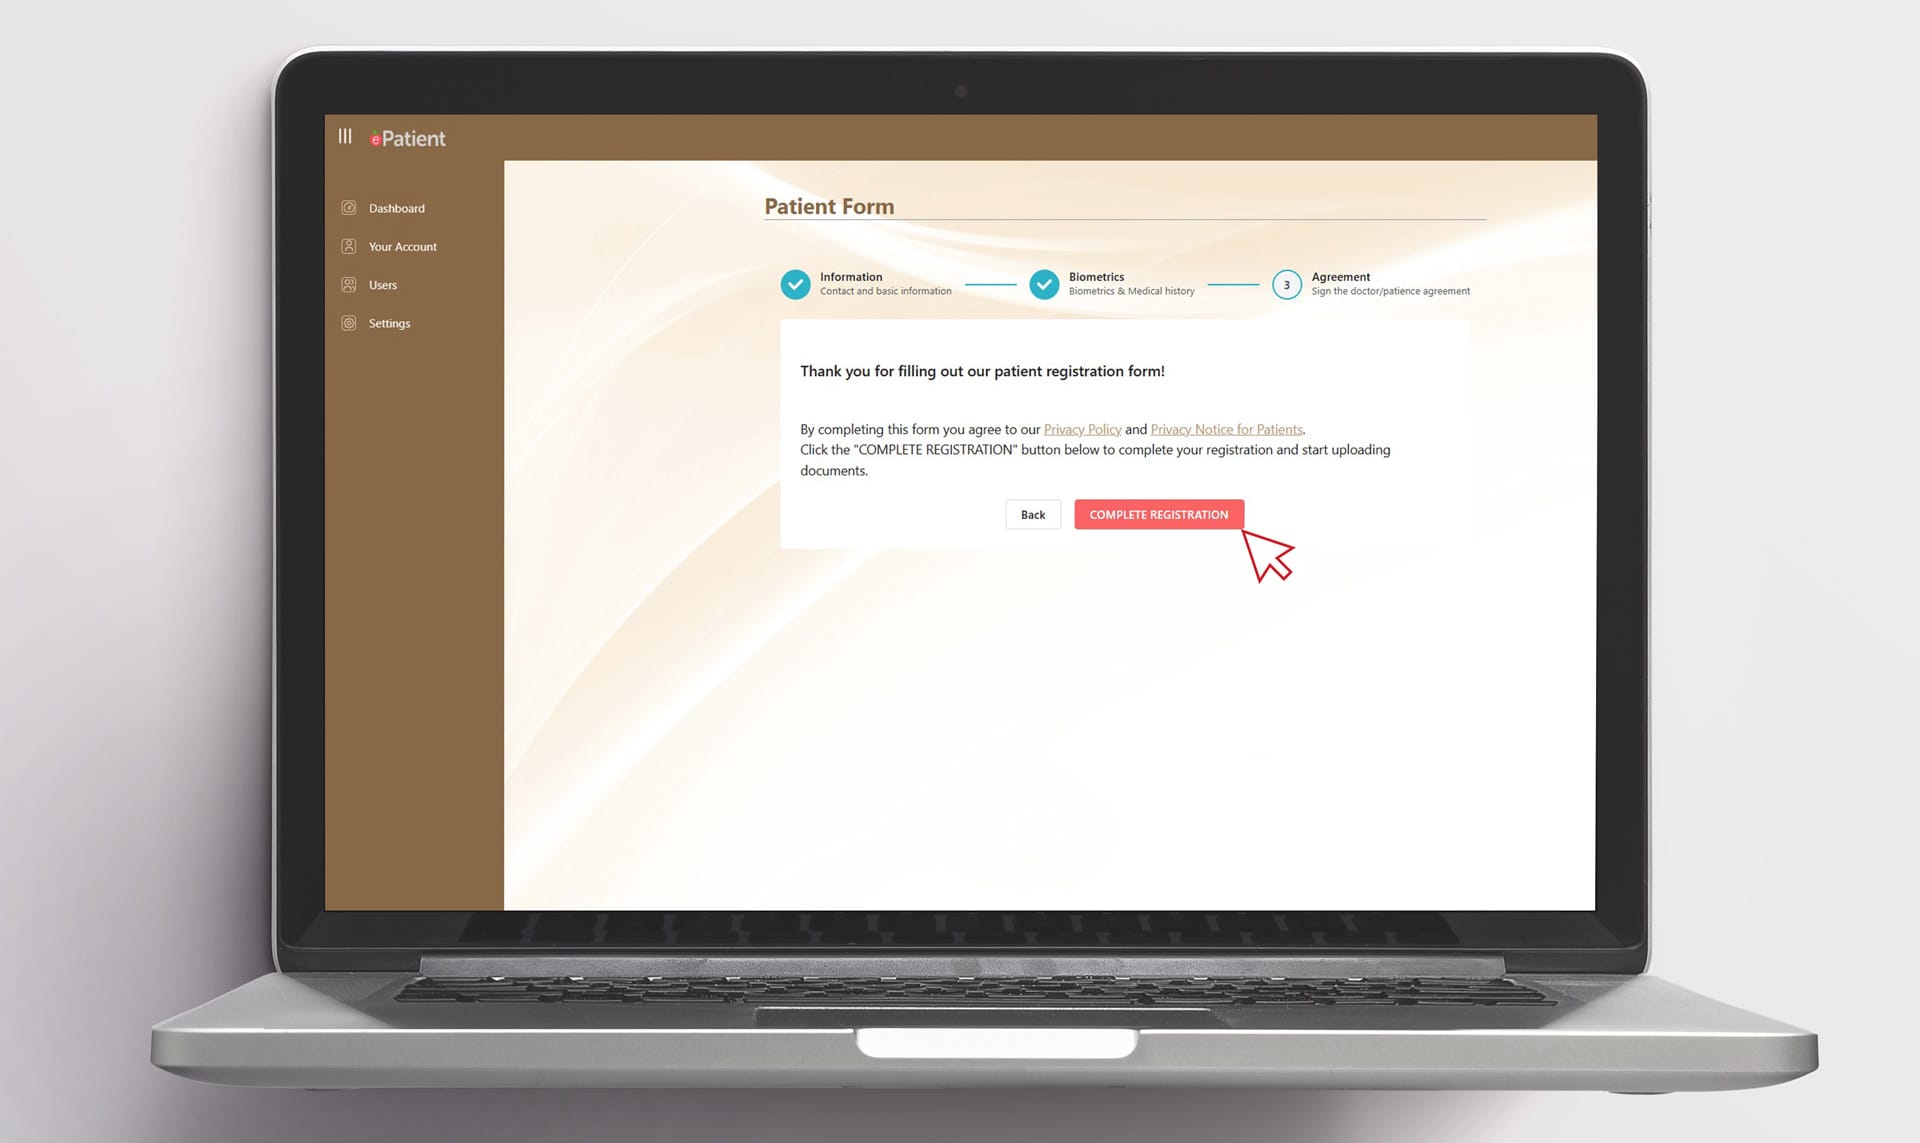
Click the “My form” link, fill in your details, and answer the patient questionnaire. Once you have completed filling out your details and patient questionnaire, click on the “COMPLETE REGISTRATION” button to complete your registration and enable the uploading documents functionality.


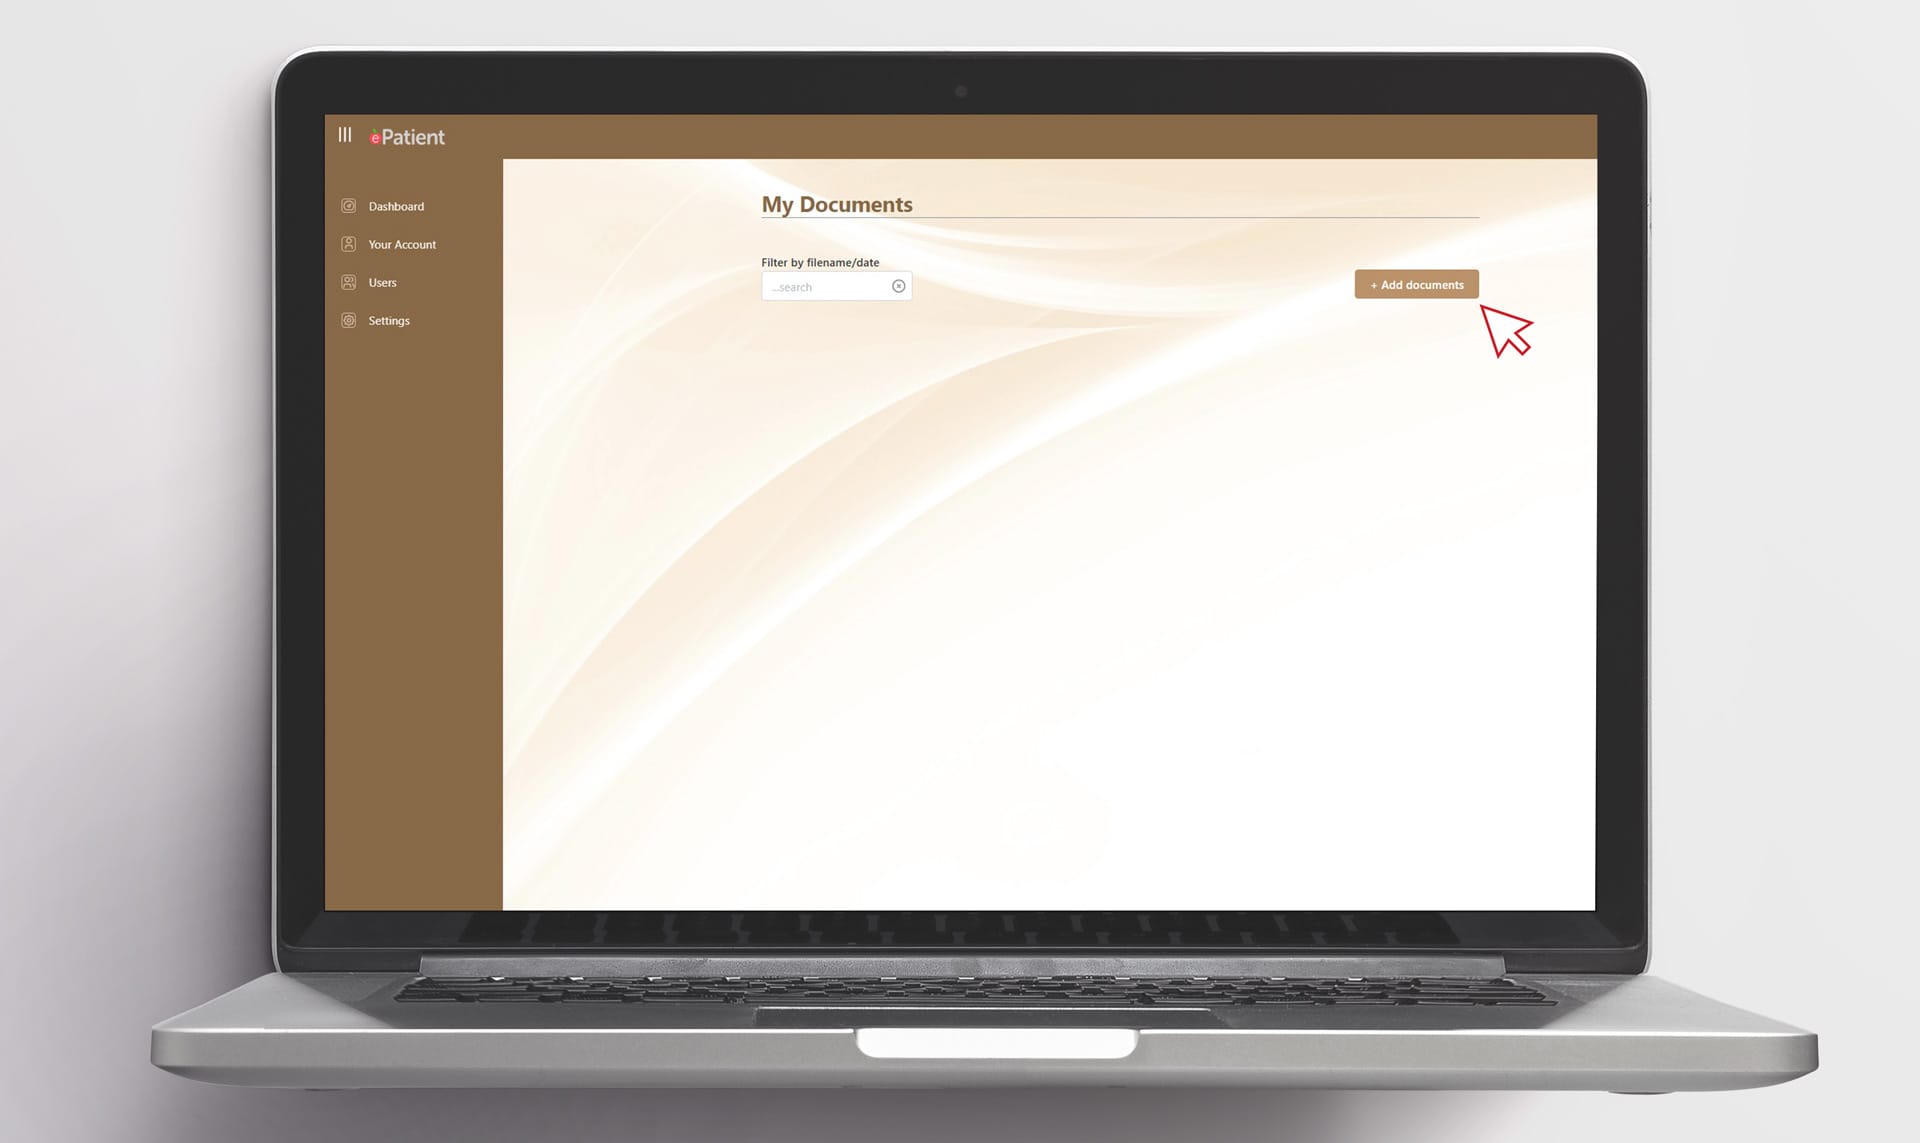
Add documents with the option to insert notes
Once you complete the fill-in of your patient form, you can update the system with your exams. Click on the “My documents” link and upload your exams as .jpg, .png images, or .pdf documents. You can optionally ad notes for each file you upload. You can repeat this process every time you want to inform the doctor’s office of the new exams you have undergone.